Emacs From Scratch, Part 1: Foundations
Posted on from Frankfurt, GermanyWelcome to my new series Emacs From Scratch. I’m far from an Emacs expert, so join me in my quest to figure out how to create a useful Emacs setup from nothing1.
In this part, we’ll install Emacs, set up sane defaults, packaging and do some basic UI tweaks to build a solid foundation.
Table of Contents
- Install Emacs
- Remove UI elements
- Configure the package manager
- Set sane defaults
- Become evil
- Set font and theme
- Add a nicer modeline
- Conclusion
Install Emacs
On macOS, everyone recommends Emacs Plus. For other systems, check out Doom’s Emacs & dependencies documentation.
We’re running this command:
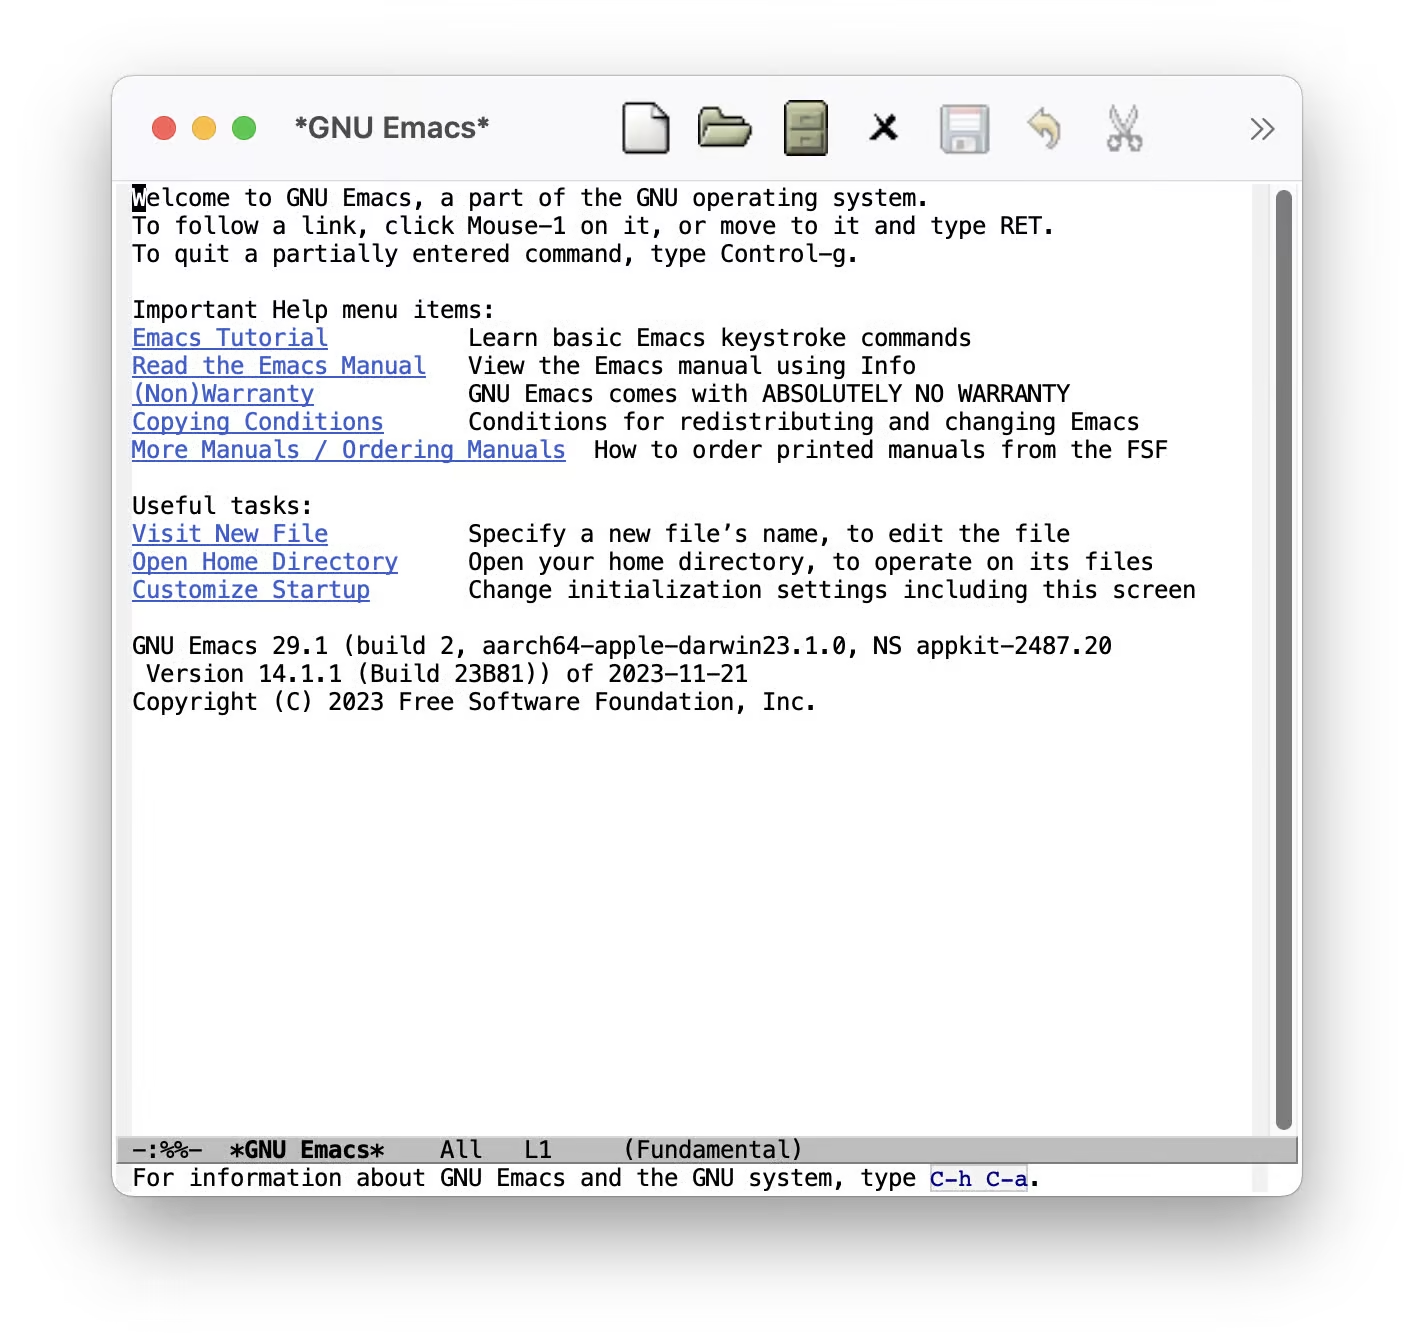
And this is what it looks like when we start Emacs for the first time:

Remove UI elements
We want to remove everything but the text. To do so, we first create a file in
$HOME/.emacs.d/init.el.
; Hide the outdated icons
; Hide the always-visible scrollbar
; Remove the "Welcome to GNU Emacs" splash screen
; Ask for textual confirmation instead of GUI
If you start Emacs now, you’ll see the GUI elements for a few milliseconds.
Let’s fix that by adding these lines to $HOME/.emacs.d/early-init.el2:
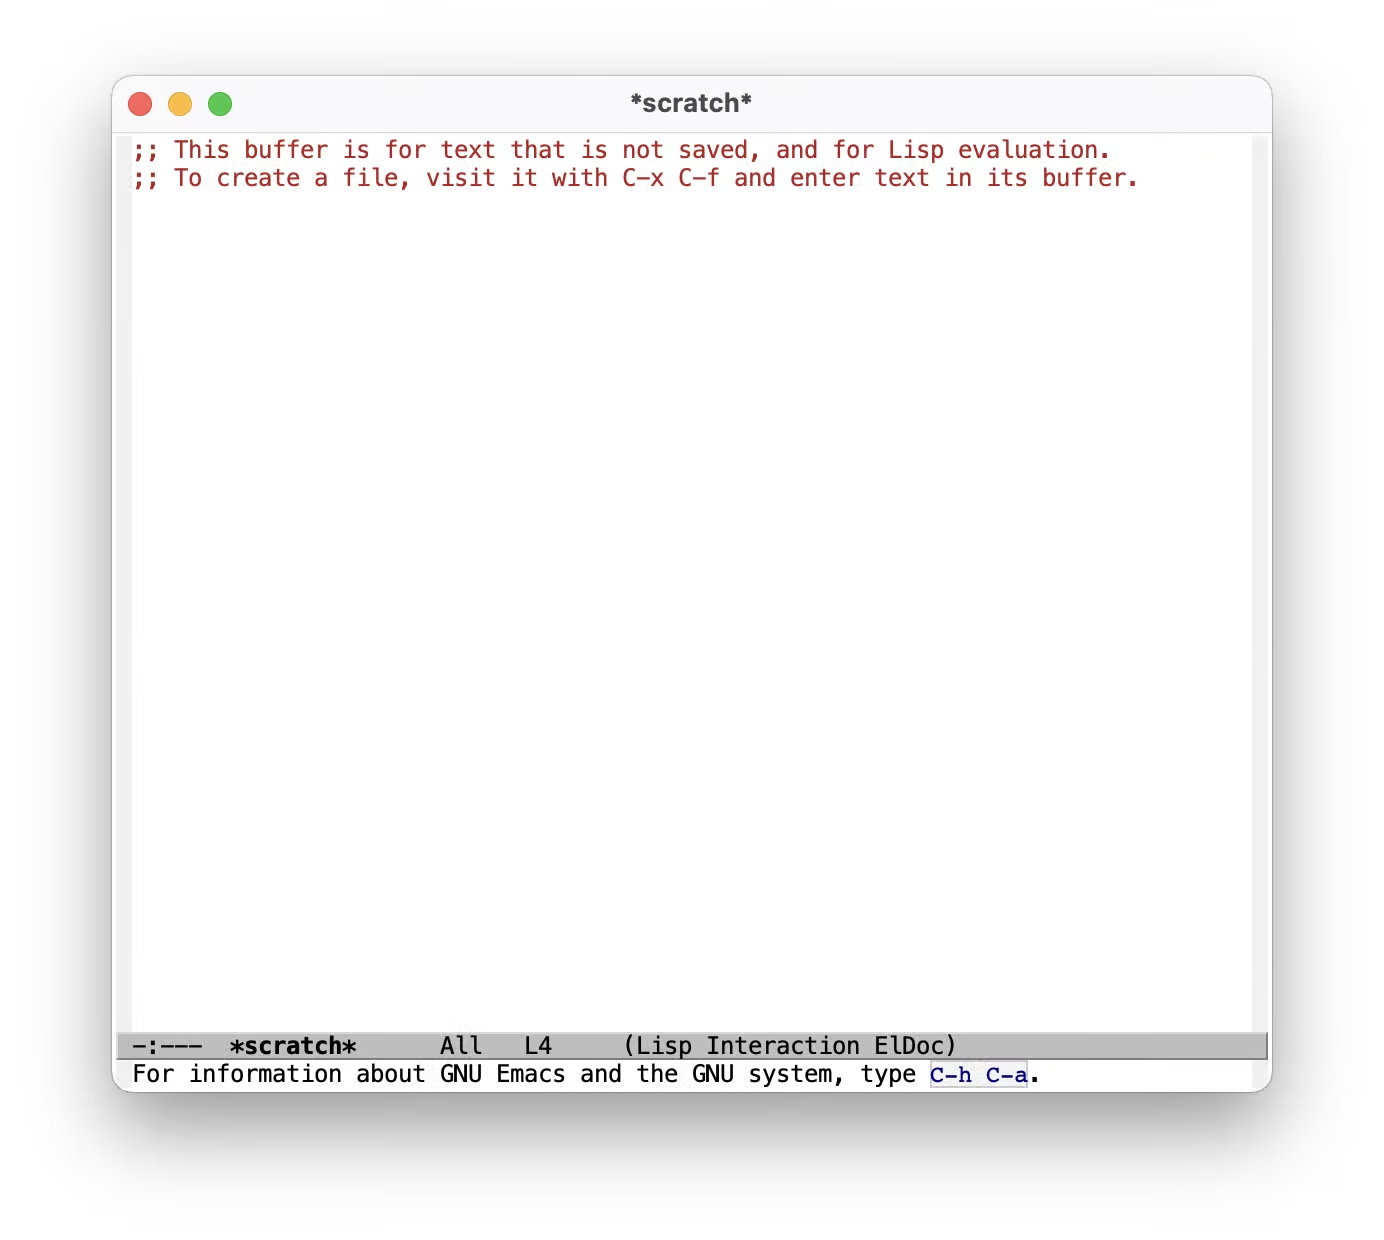
This is better:

We’ll take care of the default scratch text and the C-h C-a hint down below.
Configure the package manager
We’ll be using straight.el
for package management.
This is the installation code from the straight.el README:
The docs also recommend adding this to our early-init.el to prevent
package.el from loading:
Next we’ll install use-package for tidier specification and better performance:
Then we’ll make use-package use straight.el by default and always :defer t
for lazy loading:
Set sane defaults
It’s good practice to specify Emacs-specific settings in a use-package block,
even though this doesn’t change anything functionally.
In the following, I’ll repeat the use-package emacs function, but you can,
and probably should, move these all into a single use-package block.
Let’s start without the default scratch message and the text at the
bottom saying “For information about GNU Emacs and the GNU system, type
C-h C-a”:
In confirmation dialogs, we want to be able to type y and n instead of
having to spell the whole words:
Make everything use UTF-8:
Use spaces, but configure tab-width for modes that use tabs (looking at you, Go):
Map the correct keybindings for macOS:
Become evil
I’m used to Vim keybindings and want to keep them, so we’ll use evil:
Set font and theme
We’ll be using the PragmataPro typeface:
For themes, I can recommend the
Doom Themes, we’ll be using
doom-challenger-deep3:
Finally, we want relative line numbers in prog mode:
Add a nicer modeline
We’ll install doom-modeline:
For pretty icons, we need to install nerd-icons as well:
After restarting Emacs, run M-x nerd-icons-install-fonts (Option-x on
macOS) to install the icon font.
And we’ll install Nyan Mode, a minor mode which shows a Nyan Cat (which is 12 years old at the point of writing this) in your modeline to indicate position in the open buffer.
Conclusion
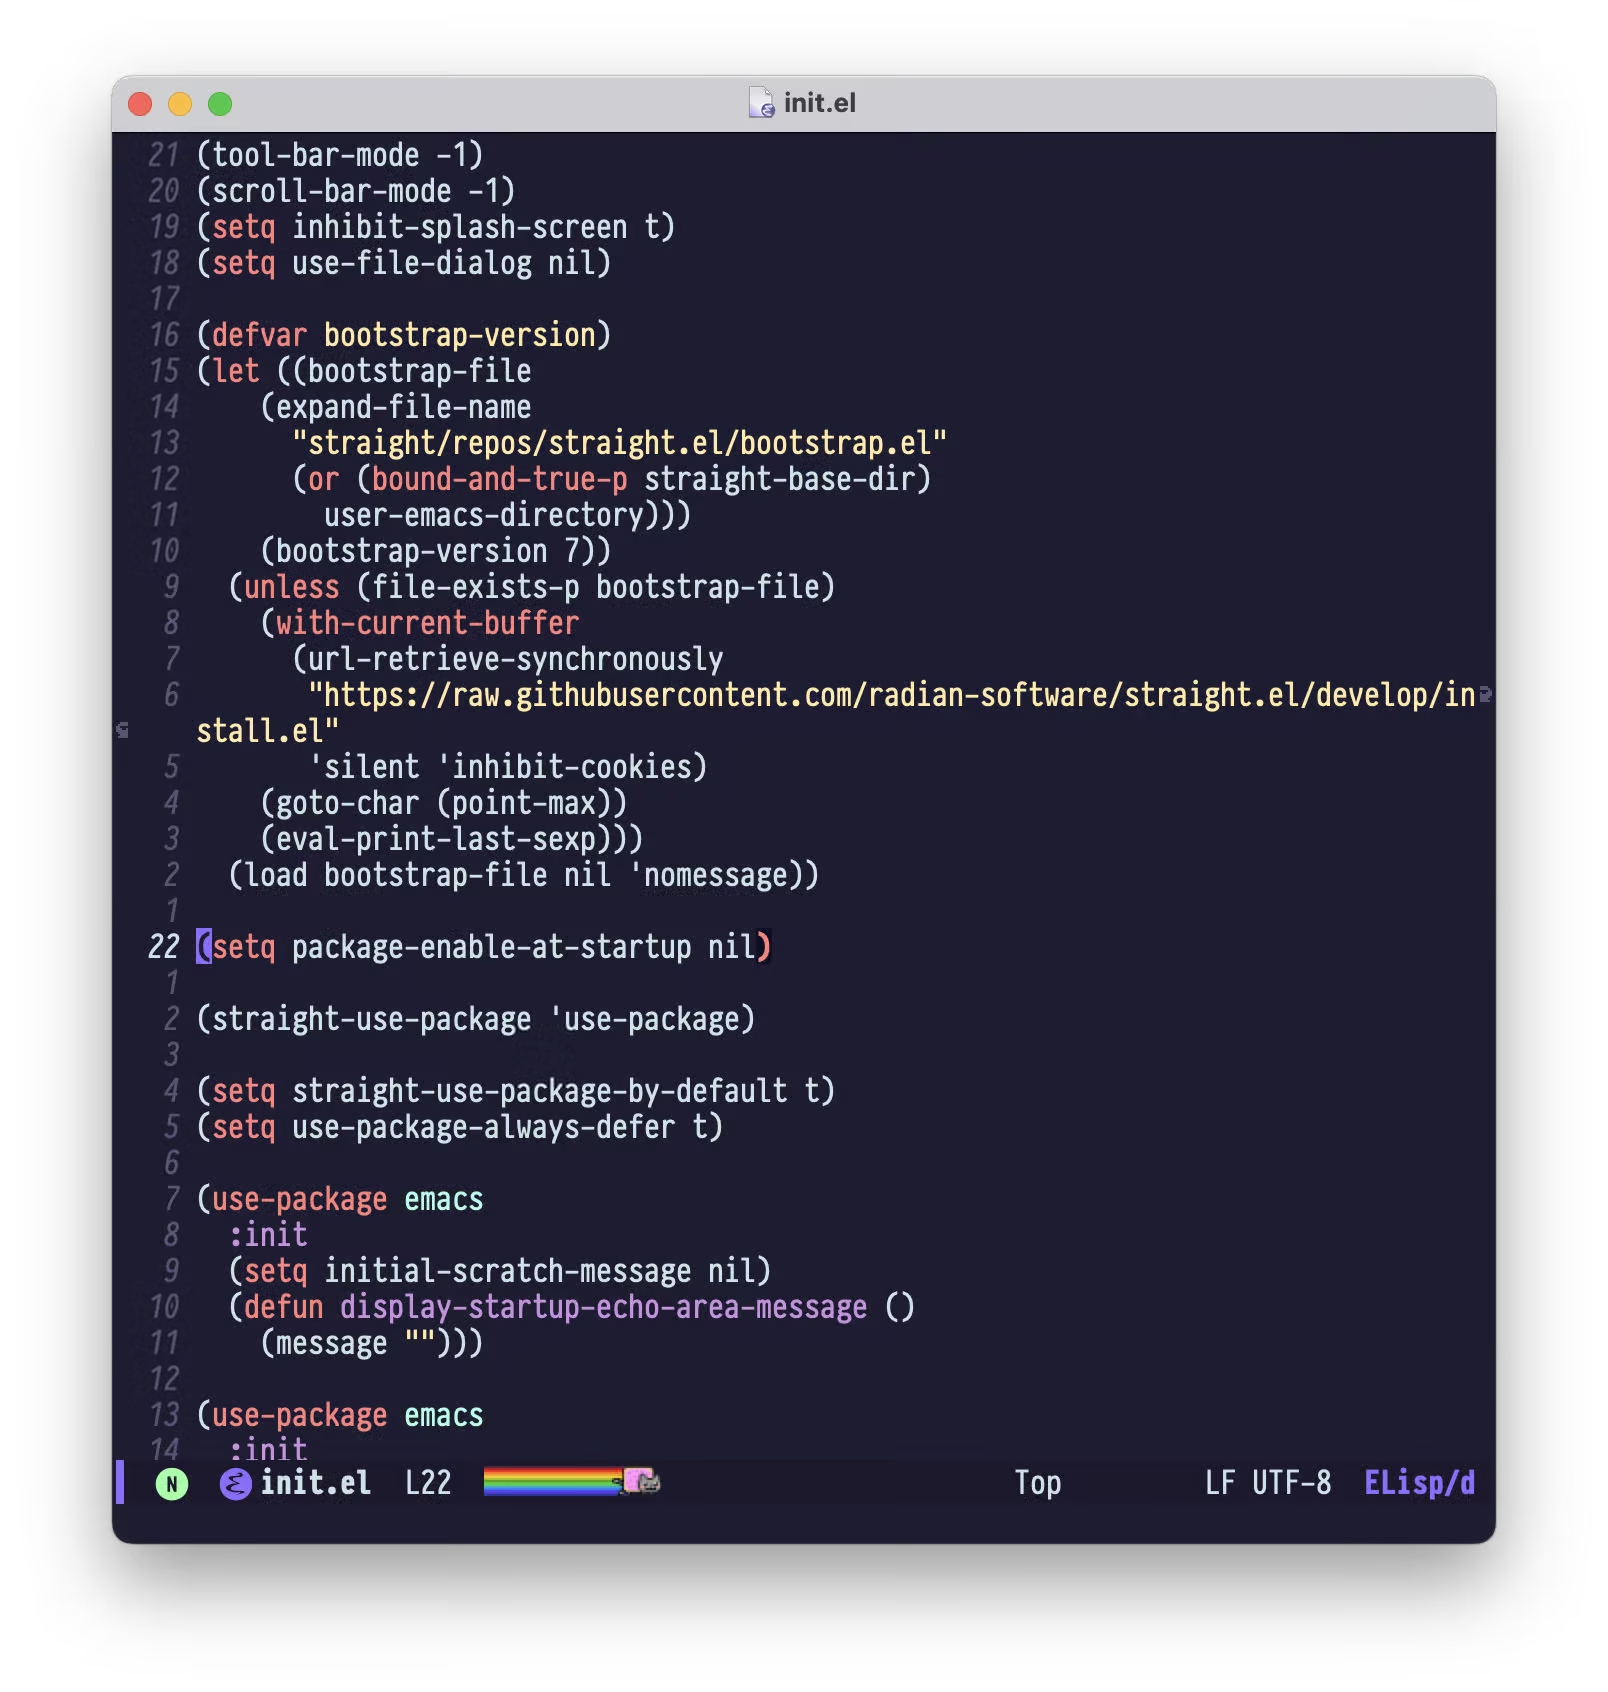
This is what looks like:

We have sane defaults, we can open a file with :e, navigate around and we
have a nice color scheme4 and modeline.
Here’s the the final init.el
and early-init.el
In part 2, we’ll add a project manager, our own keybindings, the best Git TUI, a handy shortcut to restart Emacs and a ton of small tweaks.
Subscribe to the RSS Feed so you don’t miss the following parts, and let me know if I missed anything foundational!
-
If you don’t want to have to configure everything and just want an editor that, works,
use VS Codecheck out Doom Emacs. ↩ -
early-init.elis loaded during startup, see The Early Init File. Unless explicitly noted, configuration should go ininit.el. ↩ -
Derived from the incredible original ↩
-
Yes, I know that’s what they’re called in Vim. ↩